Bathroom Renovation Guide
Your perfect bathroom may come fully formed and gleaming in your daydreams but in reality, it’ll take a lot of planning. There is the layout to consider, the fittings, the labour, not to mention the cost. This guide will take you through some key questions you should be asking yourself before you embark on your bathroom renovation journey.
How Much is a Bathroom Renovation?
The all-important question arises: how much will it cost? The level of work required will determine the expenses, and a complete overhaul can be quite costly, running into tens of thousands of pounds. But before you rip up your plans before the projects even started, rest assured that the average cost of a smaller bathroom renovation is more like £6500 (according to Victoria Plum).
If you're skilled in DIY, costs can be reduced, but it's crucial to assess your abilities realistically to avoid mistakes down the line. It's better to hire a professional if you're unsure about the job's complexity, as fixing DIY mishaps can sometimes be more expensive than hiring a pro from the start.
Here are a few reasons you may want to think about hiring a builder to carry out your bathroom renovation:
- When load-bearing walls need to be added or removed
- When party walls (meaning walls shared with a neighbor) are going to be affected
- When planning permission is required
- When opting for fixtures that require specialist knowledge to fit
Or, if you just feel a little overwhelmed by it all, a professional builder will often be happy to manage the entire project for you.
Why not try the Federation of Master Builders' handy Find a Builder tool?
How Long Does a Bathroom Renovation Take?
Before any construction begins, you should sit down with your builder to discuss a projected timeline for your bathroom renovation. The average time to remodel an ordinary-sized bathroom is six weeks, but this can change depending on your builder and the level of work.
Generally, bathroom renovations have a similar process from job to job. Once the planning stage is complete, the builders can begin demolition. This process usually takes a couple of days, but if asbestos is found, the project will delay until professionals can remove it.
After ripping out the old bathroom, a plumber and an electrician can start some of their preliminary work, including removing unnecessary or broken pipes and putting new services in place. This stage will take one or two days. Once this is complete, the walls and ceiling can be levelled, repaired where necessary and plastered, and then the floor will be levelled, screeded and waterproofed.
And now, the fun stuff! Installing sanitaryware, lighting and electrical outlets should make things look less like a construction site and more like the bathroom of your dreams. Finally, decorators can tile and paint the room. These last steps will take roughly a week.
How to Draw a Floor Plan
First things first, create a floor plan for your existing bathroom and the new design. This way, you can note down any electrical and plumbing changes required. There are plenty of online tools that can help you create a floor plan, or you can have a go yourself with these helpful tips:
- Take accurate measurements of your bathroom space.
- Draw your plan to scale. Use a pencil so you can rub out mistakes easily. You might find it easier to draw on graph paper as well.
- Mark the features of your bathroom with the correct shorthand. For instance, thick lines can represent exterior walls, double lines can indicate windows, and arcs can show the direction in which the doors open. Take a look at the example below.
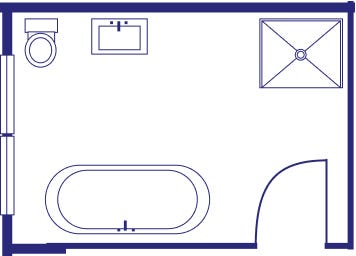
In your new floor plan, include information on plumbing and electricity, like drain pipes, hot and cold water supply points, and lighting. You may also want to add any new storage and shelving.
Deciding where your new toilet will go should depend on where the existing soil pipe enters the room. In most cases, it is a costly and labour-intensive process to move the pipework to suit your new toilet!
You can then use this knowledge to plan the rest of your bathroom. For instance, you may not want to install a large window next to the toilet!
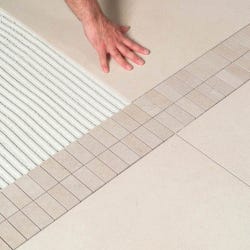
How to Tile a Bathroom Wall
If you're a DIY lover, you might like to try your hand at tiling. It's a great idea if you're looking to save money. Before you start, it'll help to work out how many tiles you need, how much adhesive and how you'd like to position them. There's nothing worse than getting to the end of the project and only having two tiles of the same colour left!
How to Remove Tiles from a Wall
Tools Needed:
- Safety goggles
- Dust mask
- Safety gloves
- Hammer, chisel or tile scraper
- Putty knife or utility bar
- Plastic sheeting, dustpan and broom
Steps:
- Prep: Wear safety gear, and protect the area with plastic sheeting
- Grout Removal: Use a chisel or tile scraper to remove grout around tiles
- Loosen Tile: Start at an edge, gently tap with a hammer and chisel
- Pry and Remove: Insert a putty knife or pry bar, carefully lift and pop off the tile
- Continue Tiles: Repeat for all tiles, working methodically
- Adhesive Removal: Scrape off adhesive using a tile scraper
- Clean Up: Collect debris, and use a broom, and dustpan to clean
- Inspect and Prep: Check the wall, repair if needed, and prepare for new tiles
Always prioritise safety, and if you're uncertain, consider consulting a professional

How to Tile a Wall for Beginners
Begin by preparing the wall surface, ensuring it's clean, dry, and free of imperfections. Lay out the tiles on the floor to plan your arrangement and make note of any cuts that may be required. Starting from the centre of the wall, apply tile adhesive using a notched trowel, maintaining a 45-degree angle for consistent ridges.
Press the tiles into the adhesive, utilising tile spacers to maintain even gaps between tiles. Use a level to ensure the tiles are straight and properly aligned. Apply adhesive and place tiles section by section, making adjustments and using a tile cutter, wet saw, or tile nipper for precise cuts when necessary. After placing all tiles, allow the adhesive to set according to the manufacturer's instructions before proceeding to the grouting stage.
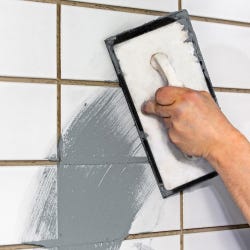
How to Grout Tiles
Tools and Materials Needed:
- Grout
- Grout Float
- Sponge
- Bucket of Water
Steps:
- Prep: Ensure your tiled surface has cured for the recommended time (typically 24 hours) before grouting
- Grout Mixing: Follow the instructions on the grout packaging to mix the grout to the right consistency
- Apply Grout: Use a grout float to spread the grout diagonally across the tiles, pressing it into the gaps. Hold the float at a 45-degree angle to the tiles
- Clean Excess Grout: Wait a few minutes for the grout to set slightly then dampen a sponge and gently wipe off any excess in a diagonal motion
- Final Cleaning: After the grout has dried (usually 15-30 minutes), buff the tiles with a clean, dry cloth to remove any remaining grout residue
- Adhesive Removal: Scrape off adhesive using a tile scraper
- Curing: Allow the grout to cure for the time specified on the packaging before exposing it to moisture
Remember, both tiling and grouting require attention to detail for a polished finish. Practice and patience will help you achieve the best results.
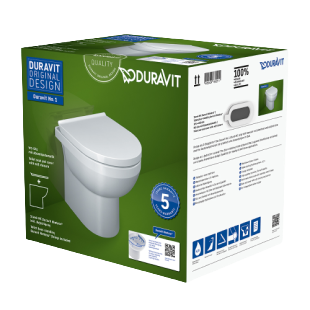
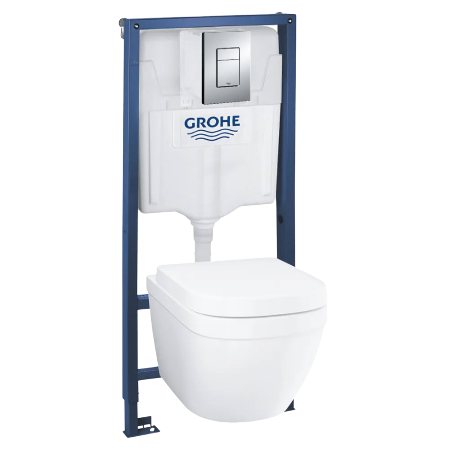
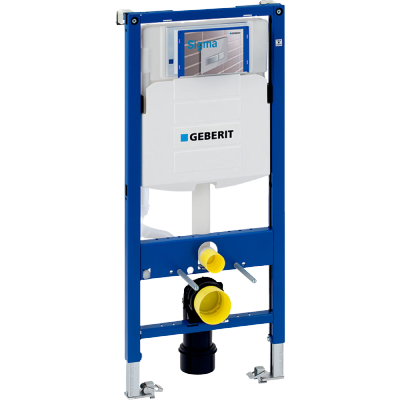
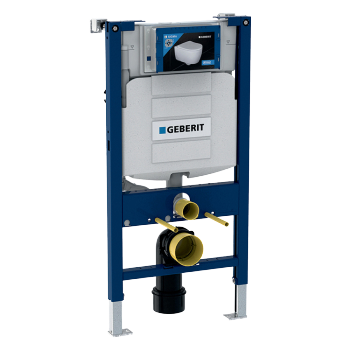
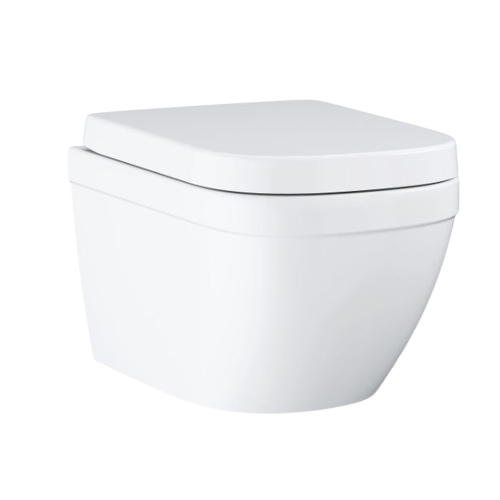
How to Choose a Toilet
There are lots of fantastic brands that deliver stylish and reliable toilets, such as Grohe and Geberit. And there are three main types of loo to choose from! A close-coupled toilet, a wall-hung toilet, and a back-to-wall toilet.
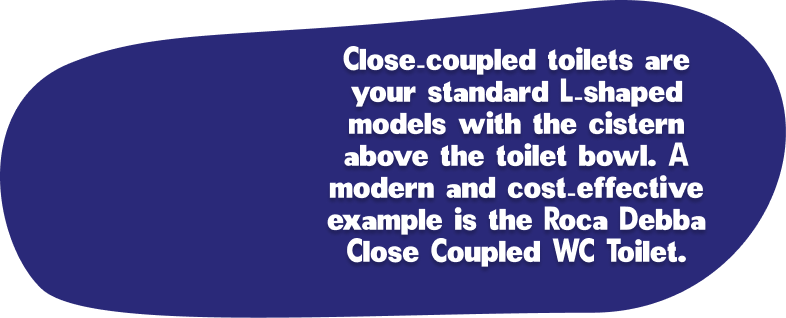
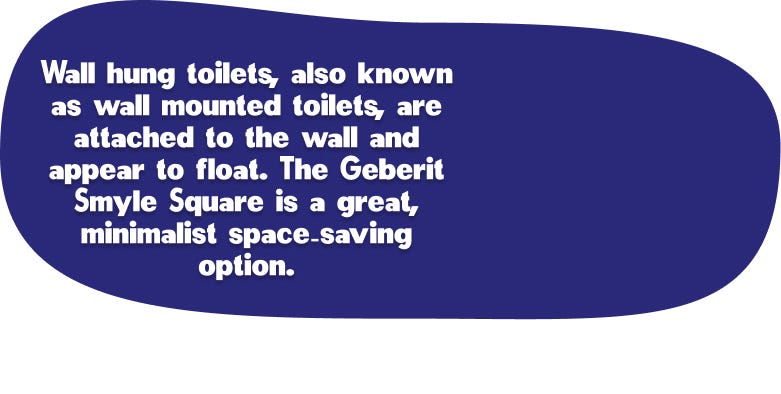

If you decide to go for any wall-hung units, like wall-mounted toilets, concealed cisterns, and wall-mounted taps, it's important to note that stud walls will need to be installed if you don't already have them. If a hassle-free installation process with minimal mess is preferred, then a close-coupled toilet may be the answer.
At Builder Depot, we sell a variety of toilet frames suitable for installation both on a solid wall and in a stud wall. Many of our sets consist of a dual flush plate and frame, with some also including the WC and lid.
What is a Rimless Toilet?
A rimless toilet is a far more hygienic option because there is no hard-to-clean rim for bacteria to become trapped in. They also use less water due to a more efficient flush system which sends the water in circular motions instead of straight down.

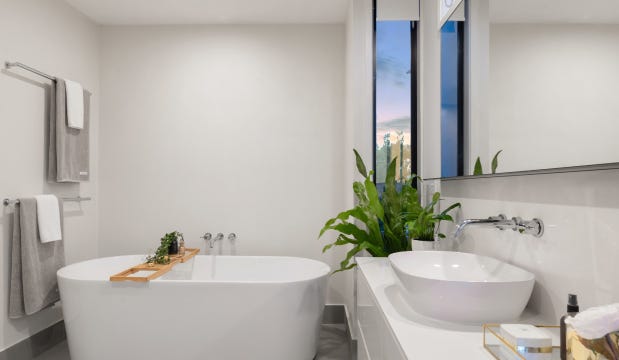
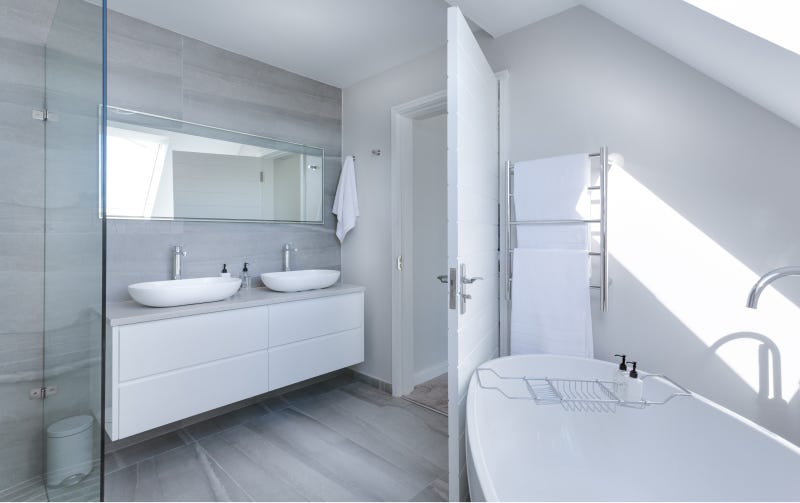
Bath or Shower?
When it comes to choosing between a bath, shower, or both, your household's lifestyle should be the deciding factor. For instance, if someone in your home has limited mobility, installing grab rails and a shower seat would make a shower more accessible. On the other hand, families with young children would benefit from a bath with easy-to-clean surfaces.
The standard size for a bath is 1700mm x 700mm but depending on your needs you can go bigger or smaller. You can also purchase more comfortable double-ended baths which have a central waste.
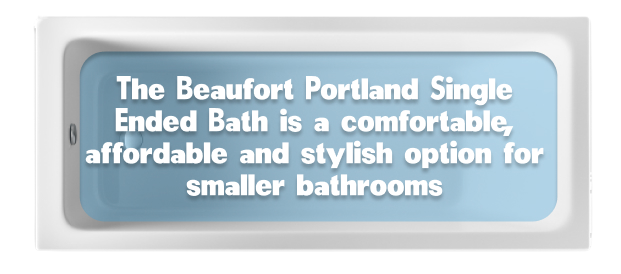
Renovating a smaller bathroom? An over-bath shower is a great space-saving option. A bath with a flat base or a non-slip coating will help to reduce the risk of accidents.
Separate showers usually come in a standard size of 760mm x 760mm with 610mm clearance. If you have a smaller space to work with, you can purchase fixed shower panels or sliding shower doors that don't swing out. Bi-fold shower doors also take up less space.
A walk-in shower enclosure looks fantastic in minimalistic bathrooms because there is no door or step to interrupt the flow of the room. Light can then travel around the room with fewer obstructions, creating the perception of more space. And to further emphasize minimalism, you could install a shower niche for storage.
The next step is to decide on the type of shower that suits you. Take a look at our in-depth guide to showers to find out all about the different varieties to choose from.
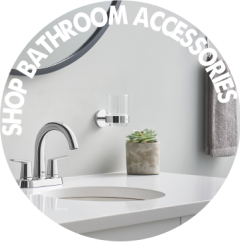
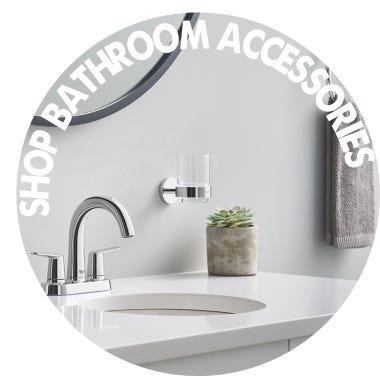
Bathroom Accessories
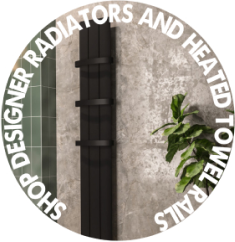
There are a few optional extras you can purchase to elevate your bathroom from simple and functional to worthy of seriously impressing your guests. For example, we have a large range of super stylish designer radiators in a multitude of gorgeous finishes. Why not explore all we have to offer online?
For more advice, on all things bathroom design, visit one of our three bathroom showrooms